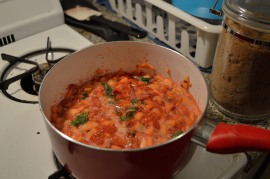
Blue Cheese Baked Chicken with Thyme Sprinkled Mushrooms and Potatoes

DSC_1167


For anyone who knows me, they’ll be able to tell you in an instant that one of my favorite things to do is to cook. And from that passion for cooking comes a passion for watching cooking shows. Watching master chefs spin culinary delights while breaking all barriers about what we know and don’t know about cooking is fascinating to me. It’s somewhat like when you happen across an idea or concept that you’d never even considered before, and suddenly completely shifts the paradigm in which you had lived before, opening new and exciting ways in which to view and think!

Although that may seem a drastic or hyperbolic way to describe something as seemingly simple as watching a cooking show, it seems the perfect way to describe what cooking shows are to me. As such, I finally decided to not just take in that amazing creative process, but to try and do it myself! Hence, one of my first creations without a recipe to guide me, Blue Cheese Baked Chicken with Thyme Sprinkled Mushrooms and Potatoes.

Ingredients:

  • Chicken
    • 2 chicken breasts or thighs
    • bread crumbs (enough to shallowly cover the bottom of a plate)
    • 2 eggs
  • Mushrooms and Potatoes
    • 2 tablespoons olive oil
    • 3-4 tablespoons thyme, chopped
    • 2-3 cups mushrooms, diced
    • 2 medium sized potatoes, diced
    • 1/2 white onion, diced
    • 4 cloves garlic, minced
    • salt and pepper

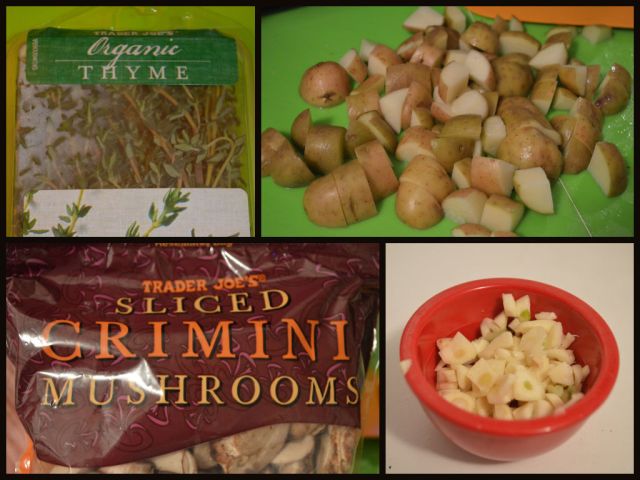
potato ingredients

When I first envisioned this meal, I imagined something warm, hearty, and savory. It was a cold night, with lots of rain and wind howling through the narrow streets of my neighborhood, and I couldn’t help but want something that would warm me up and linger on the tongue with all kinds of savory flavors. I was pretty happy with the results.

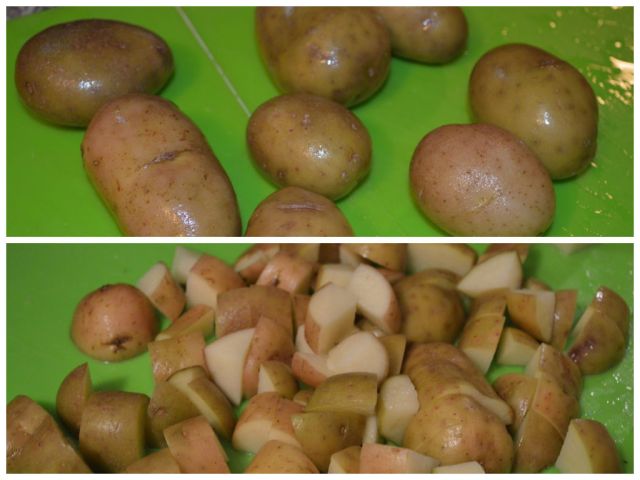
potatos1

To start, prepare your potatoes, thyme, garlic, and mushrooms. I chose to chop my potatoes in smaller sized pieces so a to help them cook faster, and to get them a little crispier. The mushrooms were chopped rather large since I knew that they would shrink as they cooked.

DSC_1112

DSC_1103


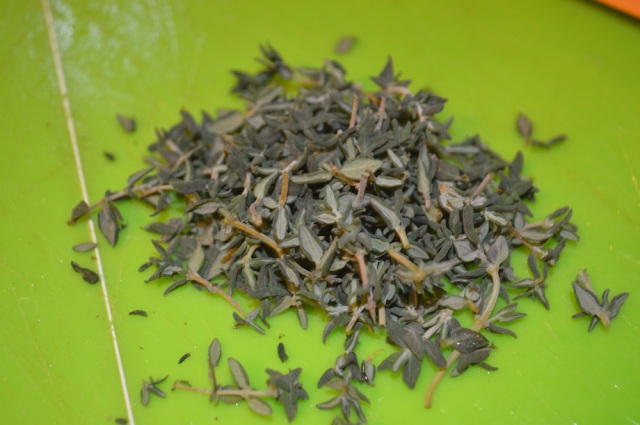
Additionally, thyme, which is one of the most underrated herbs, is deliciously fragrant and beautifully colored. To get it off of the sprig easily, pinch your fingers around the base of the sprig and gently pull along to easily remove the leaves from the base. Once you’ve got a nice bunch of thyme set on your cutting board, give it a few quick chops with your knife and set aside.

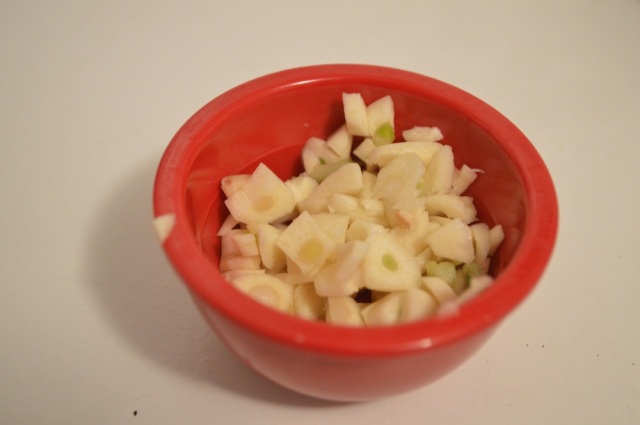
Garlic, which is the most amazing of all vegetables in my humble opinion, is crucial to this recipe. Which is why I use maybe twice as much as any normal recipe would recommend. Since the garlic will carmelize and cook down as you make your potatoes, I didn’t mince, but thoroughly chopped.

potatoes start


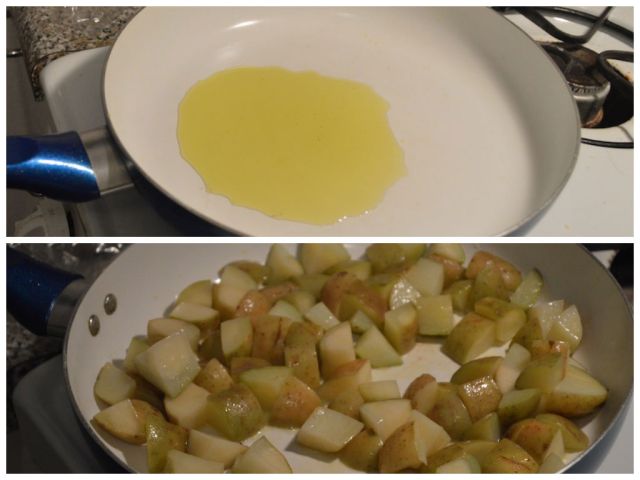
Now that your potato ingredients are ready, heat up a skillet with the oil in it on medium-high heat, and put only your potatoes in. They will need a lot longer to cook (maybe 10 minutes) than everything else. As they cook, cover with a lid and check regularly to make sure nothing is burning. You want them to crisp on the outsides and gain a nice golden brown coloring.

chicken combo


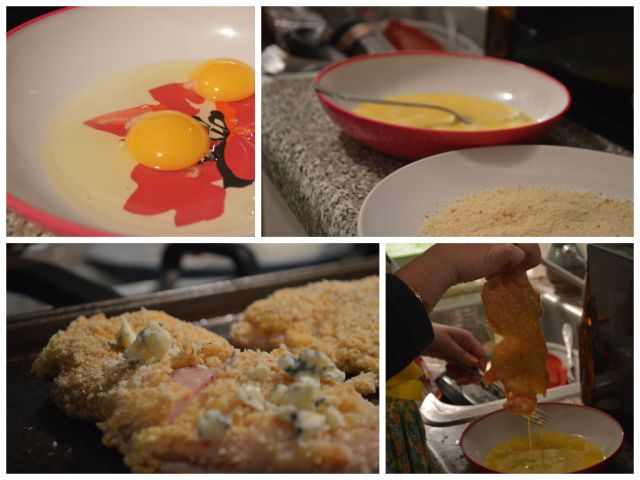
While your potatoes fry, start preparing your chicken! Turn your oven on to 350º F and prepare a baking sheet with foil. For this part, you will need one shallow plate for egg dip, and one shallow plate for the bread crumbs.

DSC_1117


Taking your washed chicken, pat it dry with a paper towel to remove any extra moisture. This will help the egg and bread crumbs to cling better to your chicken. Your eggs should be swirled together with a fork to mix together yolk and whites. One you’ve patted your chicken dry (an odd phrase), place delicately in the eggs, dip in the chicken, and lay out on your baking sheet.

DSC_1123


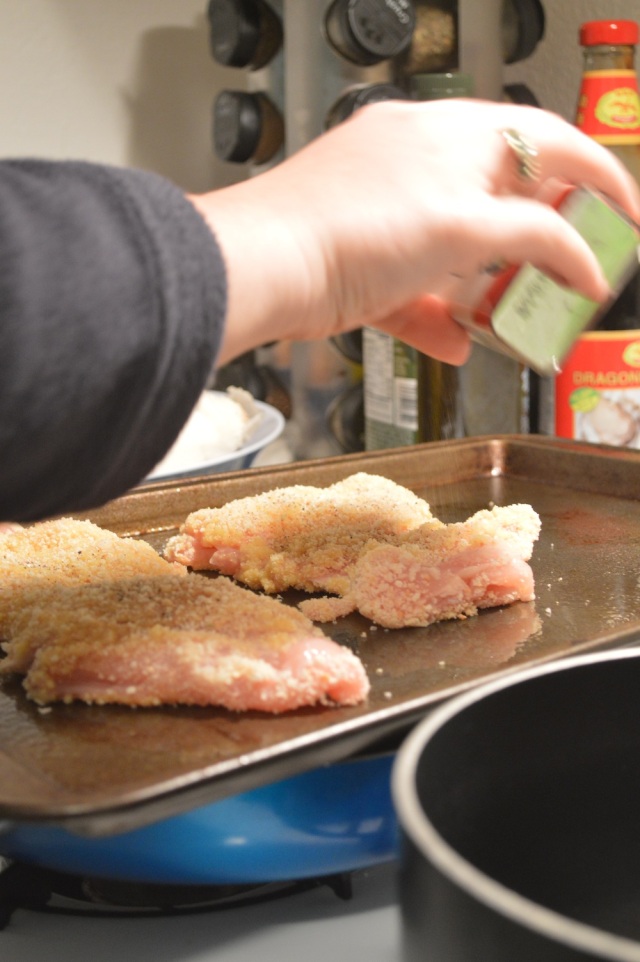
Once you’ve added only the spices to your chicken, place in the oven and set a timer for 20 minutes. You will not add the blue cheese until the timer goes off as the cheese would  only melt, bubble, and burn if left in the oven that long. Don’t worry, I would never forget about the blue cheese.

DSC_1138


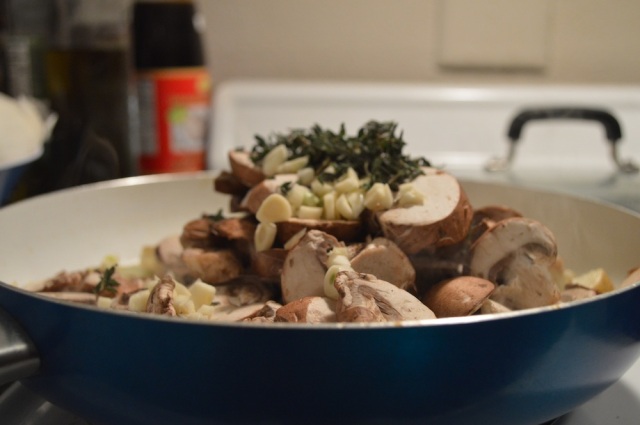
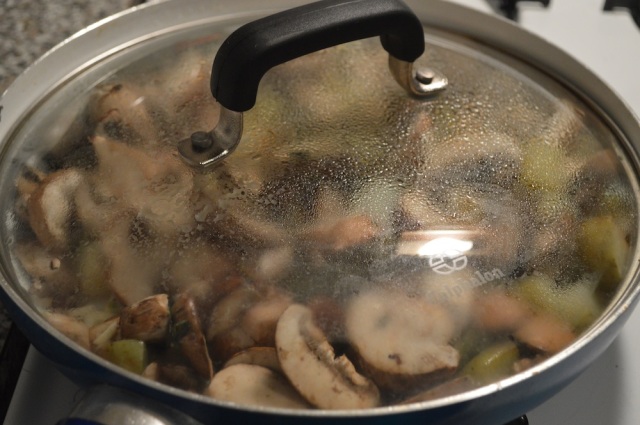
Now, let’s also not forget about the potatoes. As you’ve been watching them and occasionally stirring them, you should now be ready to add the rest of the ingredients. Gently fold in the thyme, onions, mushrooms, and garlic, and stir. The fragrance of the thyme and onions and garlic should waft up to you and make your stomach grumble with anticipation. It certainly made mine while I was cooking. Go ahead and cover again so as to keep the mushroom juices from evaporating while cooking, and set a timer for about 5 minutes. Gently stir once or twice throughout those five minutes to keep anything from burning or sticking.

DSC_1139


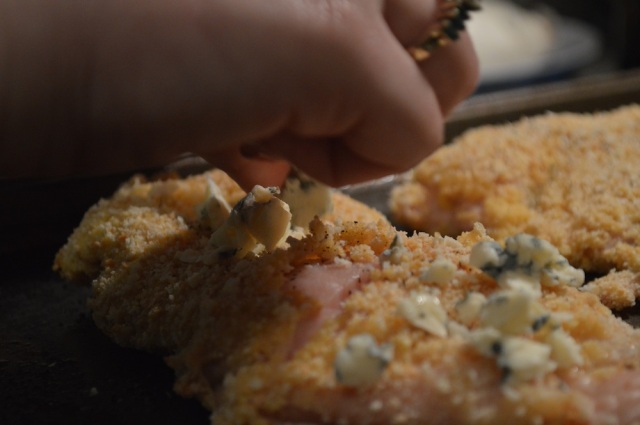
Go ahead and prepare your blue cheese by crumbling it into a nice large pile. Once the 20 minute timer goes off, take your chicken out and spread the blue cheese evenly on top. I recommend pressing it gently into the chicken so as to get it to stick to the chicken and to coat evenly with the crumbs. Your chicken should only need another few minutes in the oven to melt the cheese and ensure the chicken is cooked through.

DSC_1147

After the 5 minute potato timer goes off, uncover your mushrooms and potatoes. Check to see if the potatoes are cooked by poking a larger piece with a fork. The fork should slide gently into potato. One your potatoes are cooked, turn off the skillet and set aside.

When all is ready, set on a plate, admire for a hot second, and then devour. 🙂

DSC_1167


Now that I am becoming an adult (whatever that means) and directing my own life and making my own decisions, I find that I come across a lot of decisions and choices that I don’t quite know how to make. I’ve never had to pay taxes, or decorate an apartment, or decide how to invest savings. I don’t know how to balance my work life and non-work life yet, and I don’t know what I want to do with my career. I don’t even know how to date or meet people (still in the learning process!). Being creative and confident seems alien and unfamiliar, and often leaves me befuddled. More than anything else, I find that the hardest thing of all is making decisions and choices that help me to define who I am and what I want to be.

To combat this unfamiliarity, I look to small, creative projects like this. Whether it’s coming up with a new recipe, or learning how to sew something, or writing a book (another small project I’m starting on), everything slowly comes down to trying to define yourself how you want to define yourself. This recipe is a metaphorical representation, in my opinion, of myself: nothing too fancy, a little quirky, fun, and satisfying. It represents trying to do something new, and taking a risk in doing so. While cooking is nothing incredibly dangerous or risky (depending mostly on how you do it O.o), taking leaps in life is. We don’t know who we will meet or what situations will be thrown at us. All we can do is try to be creative, have fun, and learn more about ourselves in the process.


Here’s to hoping that this recipe finds you happy, healthy, and a little bit wiser. Bom Apetite!
 

Cowboy Caviar – Avocado, Black Bean, and Corn Salad

DSC_1008

Hello Everyone!

I hope you all are enjoying beautiful weather right now,  wherever you may be. Currently, San Francisco is gorgeous, and sporting absolutely phenomenal weather (think high 60’s and sunshine). This is the kind of weather that makes you want to host a barbecue in your backyard and eat colorful, delicious salads.

Which is a segue into the salad I am presenting to all of you today: Cowboy Caviar. To clarify, Cowboy Caviar is the nickname of salads that usually are comprised of beans, tomatoes, onions, corn, cilantro, and (oftentimes) avocado. As you can see from the somewhat grainy snapshot of pinterest below, there are a million different recipes for Cowboy Caviar. My recipe today is a simple take of my own, with the ingredients I had on hand and personally wanted to include.

cowboy caviar

Ingredients:

  • 1 can black beans, washed and drained
  • 1 can corn kernels, drained
  • 1/2 red onion, diced
  • 1/4 cup cilantro, chopped
  • 2 tomatoes, diced and de-seeded
  • 2 avocados, diced
  • 1/2 lime
  • salt and pepper

DSC_0967

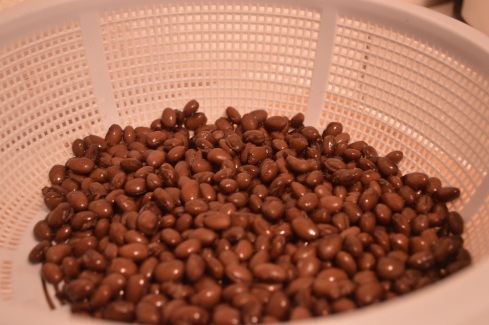
Your first step will be to wash and drain your black beans. I personally prefer to let them drain and dry while preparing the rest of the dish just to get as little leftover water in my salad as possible. Once you’ve washed the “bean juice” off of these delectable protein-filled morsels, put them aside for later.

DSC_0971

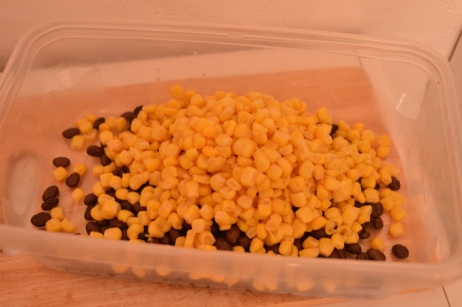
Open your can of corn, and drain thoroughly. Corn is one of my favorite vegetables because of its beautifully bright color, and the sweetness that it adds to a dish. Not to mention, it’s delicious. Pour your beans and corn carefully into the container you plan to use for serving/storing your Cowboy Caviar. Set aside.

DSC_0972

DSC_0973

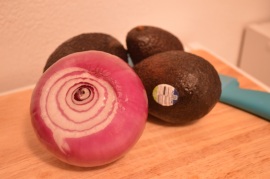
Now turn to your beautiful, big red onion, and chop it in half. A friend of mine once joked that the secret to not crying when cutting an onion is to not get emotionally attached to it. Trust me,that doesn’t work.

I loosely chopped my onions as I didn’t want them to be too fine, but I also didn’t want to just bite into huge chunks of eye-watering onion. The beauty of red onions is that they can be a little sweeter than regular white onions, which will make it meld better with the rest of the salad.  Go ahead and add your onions to the salad once they’re chopped.

DSC_0977DSC_0979

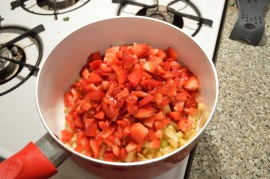
Next, we need to take the seeds out of your tomato, chop up the tomato, and add it to the salad. I chose to remove the seeds in the middle for a cleaner presentation, as well as to make the salad less liquid. As you can see on the right, I kept the pieces rather large in size.

DSC_0982

As soon as you’ve chopped those onions and tomatoes, go ahead and add it to your container. The beautiful part about Cowboy Caviar is that it is full of lively colors and textures that make it all that much more fun. I’ll admit, I spent a good few minutes taking ridiculous amounts of photos of my salad at this point, even though it was not finished, just because of how mesmerized I was by these varicolored vegetables!

DSC_0987

Once you can tear your eyes away from bright yellows and purples and reds, turn to the greens. Gently tear the leaves off of your sprigs of cilantro, and collect them on your cutting board. Then, using one hand as a guide on the top, non-sharp edge of your knife, loosely and gently chop up the cilantro. I don’t like to mince my cilantro for this kind of thing as I would much rather have them be large, tasty bursts that mingle with the salad rather than blend into the salad as a dressing.  Once you’ve chopped the cilantro to the consistency you like, add it to the salad bowl.

DSC_1003

The second green you will want is your avocado. The fantastic trick to cutting avocado easily and cleanly was taught to me by a friend of mine. Simply start by cutting your avocado in half, then into quarters. Slide the blade of your knife down the center of an avocado quarter, and then across to create blocks of avocado. Then, gently bend the peel back so as to cause the avocado to invert and separate. Now, you can easily and efficiently scoop the avocado from the skin and gently deposit in your salad container.
DSC_0994

The third and final green thing is your lime! This lime will serve not only a the zesty and zingy dressing that will add lightness and flavor to your salad, but will also serve as a preserver that will help keep your avocado from browning and looking terrible. Cut the lime in half, and squeeze gently over the contents of your salad.

Note: This was a somewhat large lime, so use both halves if you are using a smaller lime.

DSC_1006

DSC_1009

Now, gently mix the salad together with a large spoon, carefully avoiding to crush the avocado. Add salt and pepper to taste, and you’re done!

I decided to make this salad for two reasons:

1) My friend and I were having a mini potluck for lunch on Thursday, and I promised to bring a chicken stir fry dish. But being a goofball, and having forgotten to defrost chicken, I brainstormed and happened upon this idea instead.

2) Many of my friends in college would often complain that they did not have time to make healthy food, or that it was too expensive to make. To this, I reply that this salad took less than half an hour (if you factor out all the time I spent taking pictures of the food) and in all cost me less than $7 to make several servings of delicious goodness. On top of all that, there is nothing unhealthy in this salad (I’m pro-avocado).

Now that my life is consumed with work, friends, and endless errands, I keep whining to myself the same mantras that homemade healthy food is unrealistic with my schedule. It’s so much easier to just give in and go get Chinese food at lunch or sushi for dinner. Yet, when I can make something as wonderful and savory and healthy as Cowboy Caviar in less than half an hour and for less than my take-out lunch costs, I don’t know how much longer I could have kept up that lazy argument. And maybe that’s a good thing.

Do yourself a favor- make this, try it, love it, and never say you don’t have time for salad again.

Bom Apetite!
Apple Strawberry Basil Jam – The Start of Spring


DSC_0540

Hello Everyone!
I hope that wherever you are, this blog post finds you happy. Having just spent a weekend in the freezing cold of Durham, North Carolina (where it snowed for the week prior to that), I can’t help but be happy about the amazing weather I’ve been so fortunate to live with. Mind you, it’s raining in San Francisco now, which means that everyone has decided it’s the apocalypse.

But good news, everyone! Spring will be here before we know it. And Spring, being my favorite season of the whole year, means breezy, warm days with blue skies and happy feelings all around. It also means Spring fruits, such as strawberries and apples!
So what to do with all those strawberries and apples (and any other fruits you may have lying around)?

YOU MAKE JAM!!

Strawberry Apple Basil Jam

Ingredients

  • 3 cups chopped apples
  • 3 cups chopped strawberries
  • 10-20 leaves of fresh basil
  • 2 tablespoons of brown sugar (or other sugar alternative)
  • 1/2 lemon

DSC_0489

DSC_0492DSC_0487


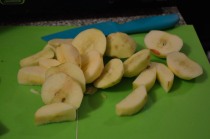
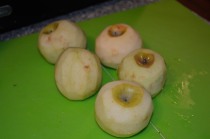
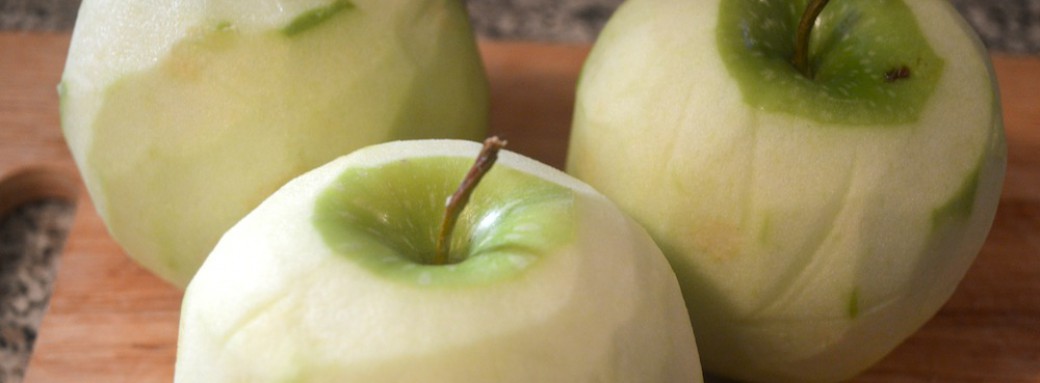
Start by prepping your fruit! Peel the apples (these are mini apples, so don’t be fooled into peeling 5 of those huge apples from Trader Joe’s). Pit the apples, removing any seeds, and then finely chop the apples into tiny small bits. Keep in mind that although the fruit will shrink as you simmer (later on), there will still be chunks of fruit in your jam. Therefore, the tinier you chop now, the better!

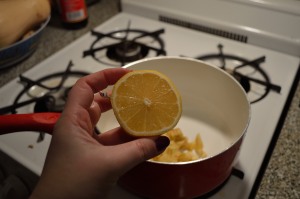
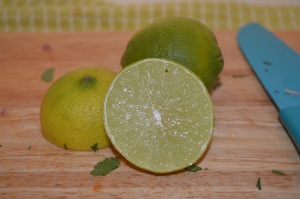
DSC_0494Place your apple bits in a pot, and cover with the juice of half of a fresh lemon. The lemon will add a zing later on, as well as keep the apples from browning while you prep the rest of the ingredients.

DSC_0505

DSC_0507DSC_0502


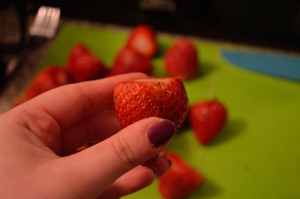
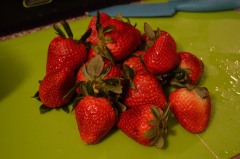
Next, prepare your strawberries! They will also be finely chopped and de-leafed.

[Side-note: Aren’t these pictures amazing?!?! I’ve recently invested in a DSLR and plan on taking the most beautiful, delicious photos of the food I cook (and other things) from now on. Let me know what you think of them!]

DSC_0522

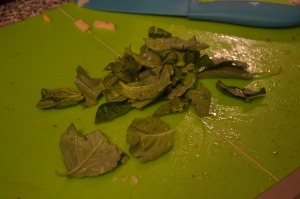
I’m sure some of you have been wondering how in the world basil could go in a jam. Basil makes you think of pesto and caprese salad, not of sweet succulence! Fear not! Believe me when I say that it will work beaaauuutifully with your jam. Basil can be quite sweet when it wants to be, and adds that perfect fragrance and zestiness to the jam.

DSC_0513  DSC_0515

DSC_0514

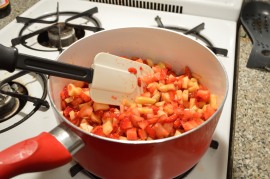
Once you’ve prepped the fruits and basil, you can start to stew them. This is done at a medium-low heat, stirring the fruits to get them well mixed. Add your brown sugar and continue to stir gently. Once the fruits seem to be cooking and losing their juices, cover the pot and let stew for 10 minutes. Check only occasionally to make sure things aren’t burning. As they cook, the fruits will juice and reduce in the pot, creating a delicious bubbly goodness. The sugar acts not only as a sweeter, but also makes the concoction syrupy.

DSC_0525

After the 10 minutes are up, add your basil, cover the pot back up, and continue to stew another 10 minutes. The basil will eventually be filtered out of the mixture, so don’t worry too much.

DSC_0528DSC_0530

DSC_0535

Upon completion of the second set of 10 minutes, turn off your stove and let the jam cool in the pot. You can also take the basil out now, if you wish, or wait until the mixture is cooled. While the jam is cooling, prepare your mason jars! You’ll want to make sure that they are clean and sterilized. I usually do this with a run in the top rack of the dishwasher.

Once the jam is cool and the basil is removed, mash it up gently, either with a fork in a bowl or with a food processor. I ended up leaving mine be since I like the pieces of fruit in jam.

DSC_0540

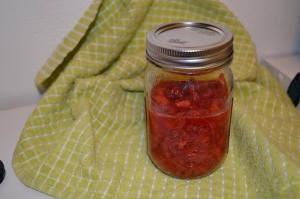
The only step after that is to go ahead and can it! You should try your best to fill the jar all the way so as to leave as little air in there. The more air, the more likely your jam will spoil. Anything you won’t use right away, freeze for later. Whatever you use now, keep refrigerated upon canning, and then add copiously to your waffles and cottage cheese and ice cream and chicken and EVERYTHING. (Heck, you can even eat it straight out of the jar by the spoonful! I won’t judge. )

Spring is more than just sunshine for me. Every Spring, I feel like the world is blossoming and is ripe with potential. The year is just starting, the weather is conducive to adventure and excitement, and anything is possible. When you walk down the street, you feel energized and excited for whatever new thing may come your way. Much like this jam, every little thing is filled with sweetness and zing. While life certainly may not be peachy perfect, it definitely is much better than we think. I say that we all put down our pens/mouses, take a stretch break outside, go back inside, take a delicious bite of jam and toast, and then relax. Remember, life is sweet.


Bom Apetite!